¶ How to install Ubuntu
This is an example of an Ubuntu 18.04 install on VirtualBox. Installing other versions like 19, 20, 21 and so on on a bare metal server or as a virtual machine on another hypervisor will be the very similar.
-
Download Ubuntu from the official website: https://ubuntu.com/download.
-
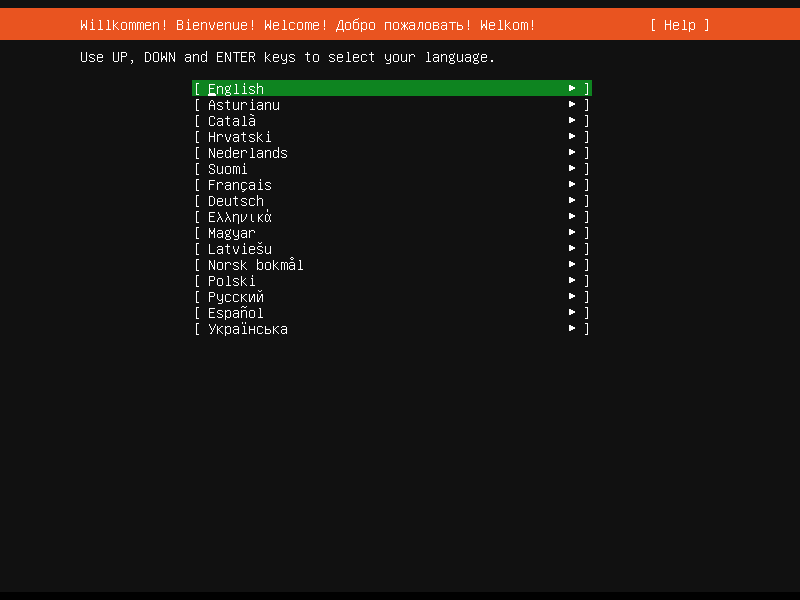
Boot the (virtual) machine from the attached .iso file (or create a bootable USB stick) and the Ubuntu installer will start. The first question to answer is what language you want.
-
Next we can select the Keyboard configuration. You can have the installer Identify your keyboard or select it yourself. I know I have the
English (US)layout and the...(US, euro on 5)variant.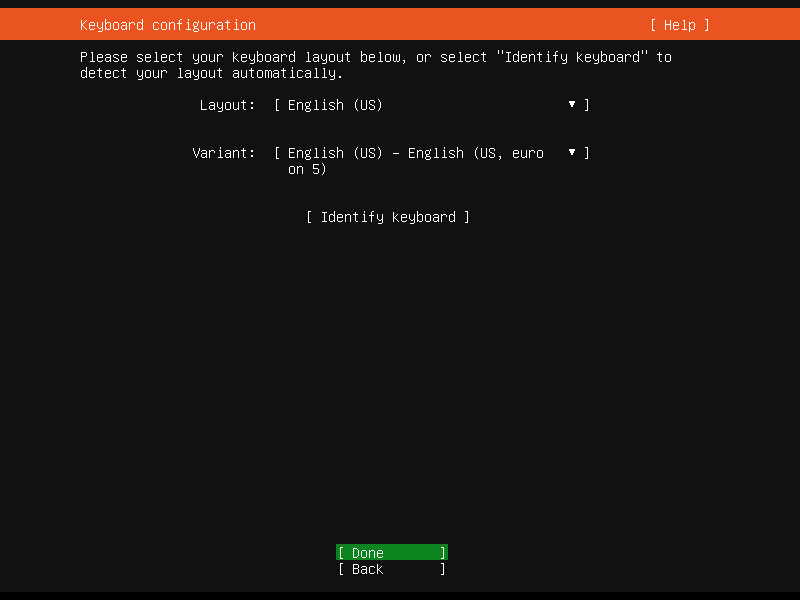
-
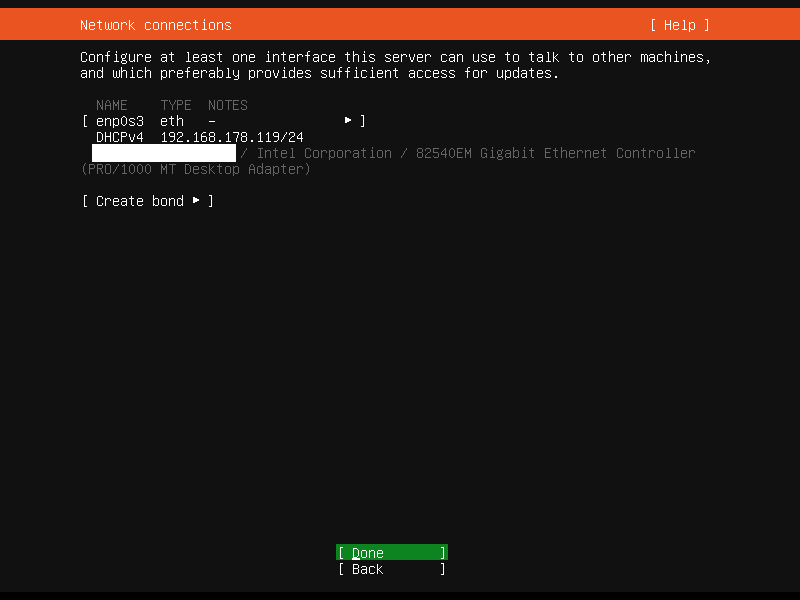
Now select the Network connection. As I want my router to assign a fixed IP address, so I'll go into the router now and link this mac-address to a fixed IP. You can accept the defaults if you only want to setup a VM for testing.
-
In the next screen you can set your proxy settings. I have never done that, so I'll skip this and continue.
-
Ubuntu then asks you if you want to add a mirror for downloading software. I never did it, but you can if you know there is a fast one nearby. Like on the same network.
-
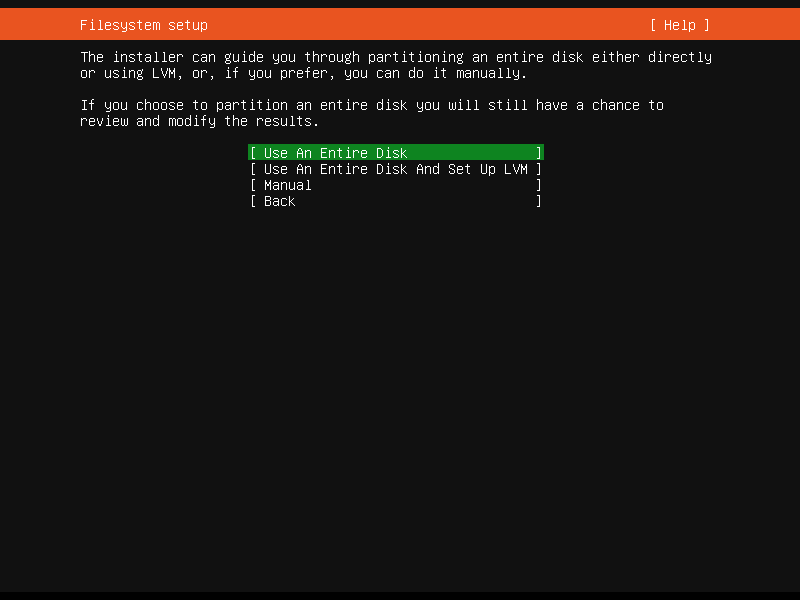
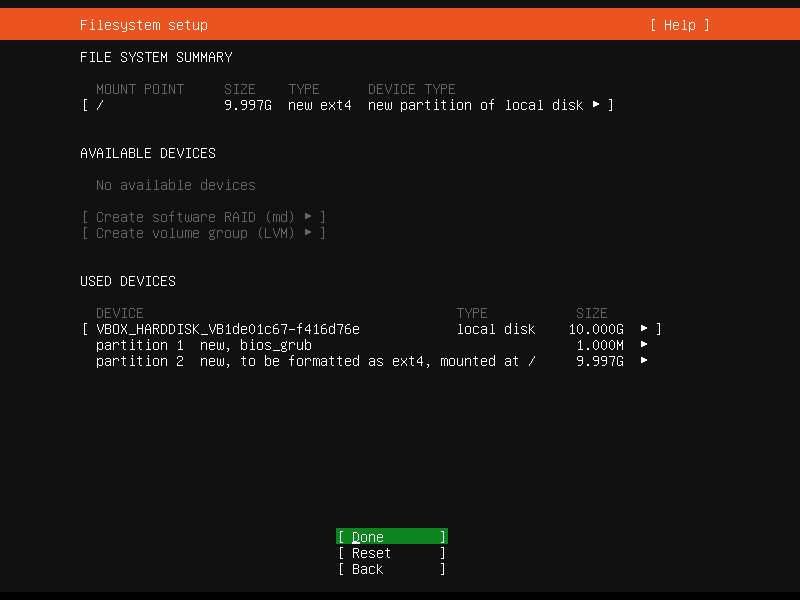
Next we come to the Filesytem setup screen. Here we select Use An Entire Disk.
-
Now we can choose the disk to use. We only have the virtual disk we created earlier, so not much to choose from.
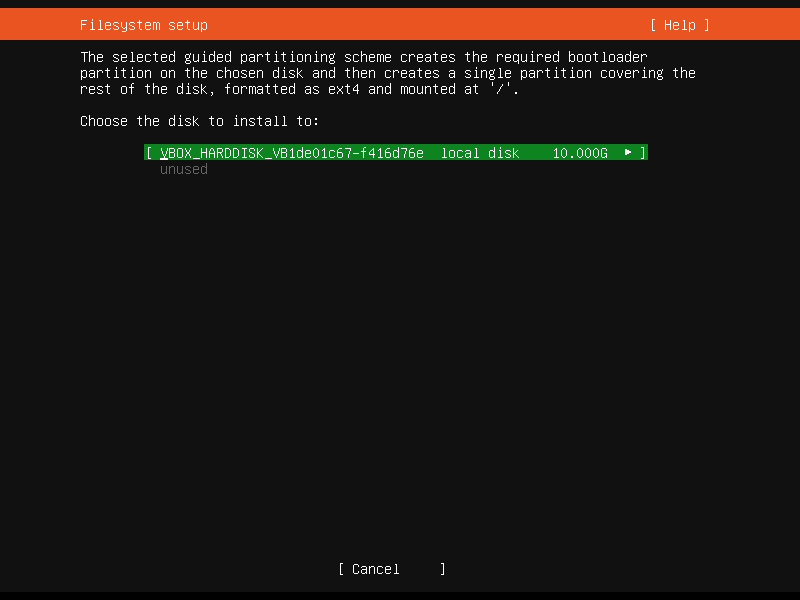
Yes, I forgot to increase the disk size to at least 16 GB. That's going to hurt later.
-
The installer will show you an overview of the changes it's going to make to the volume. Which is fine for us, so let's do it.
-
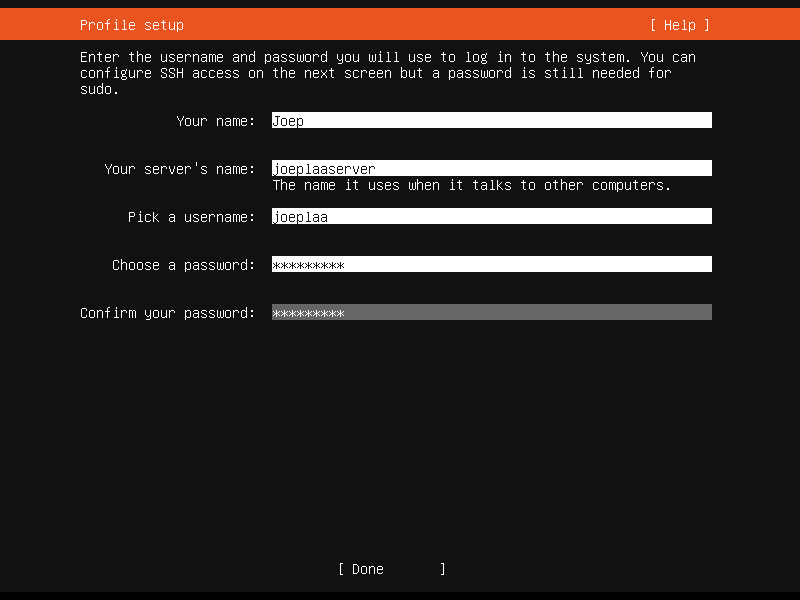
Enter your Profile setup: name, server name, username and password.
-
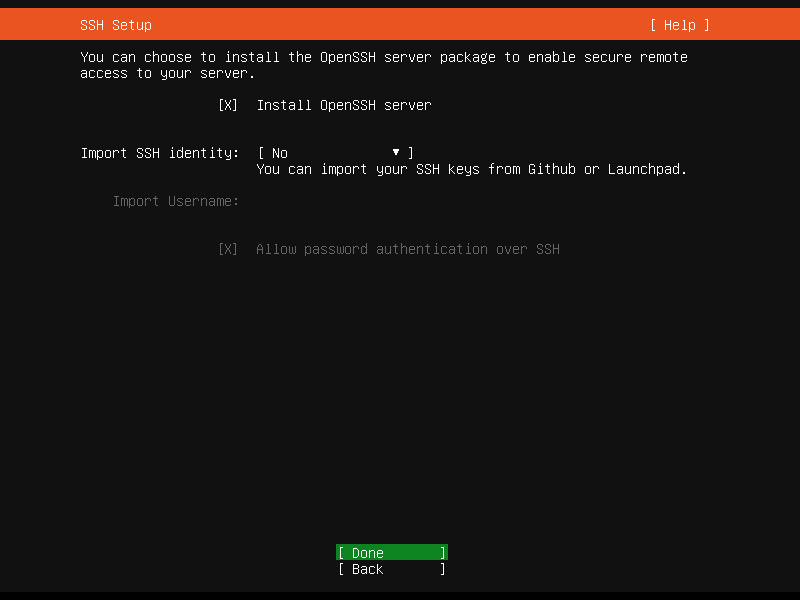
We definitely want to use SSH to log into the server through a terminal later, so we want to select Install OpenSSH server.
-
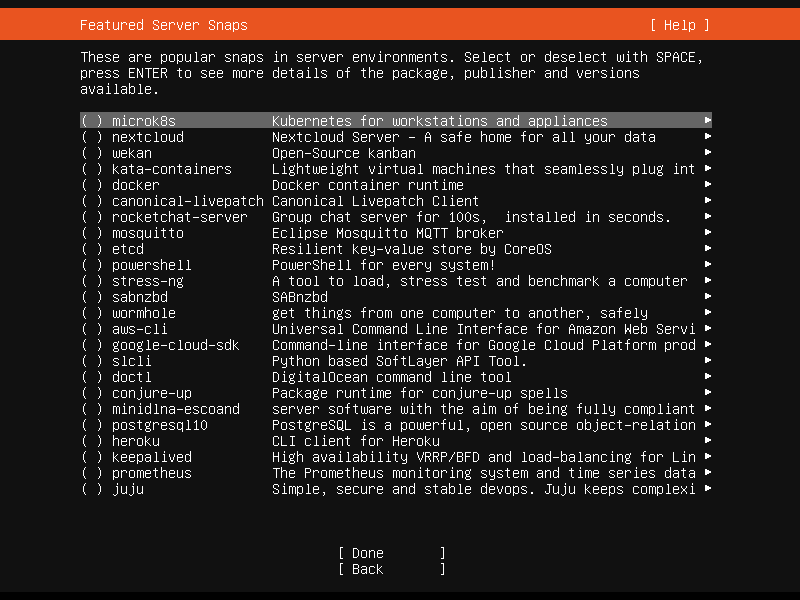
Now we can select some Featured Server Snaps. These are pieces of software that will be installed with Ubuntu. We don't want any, so select none of them.
-
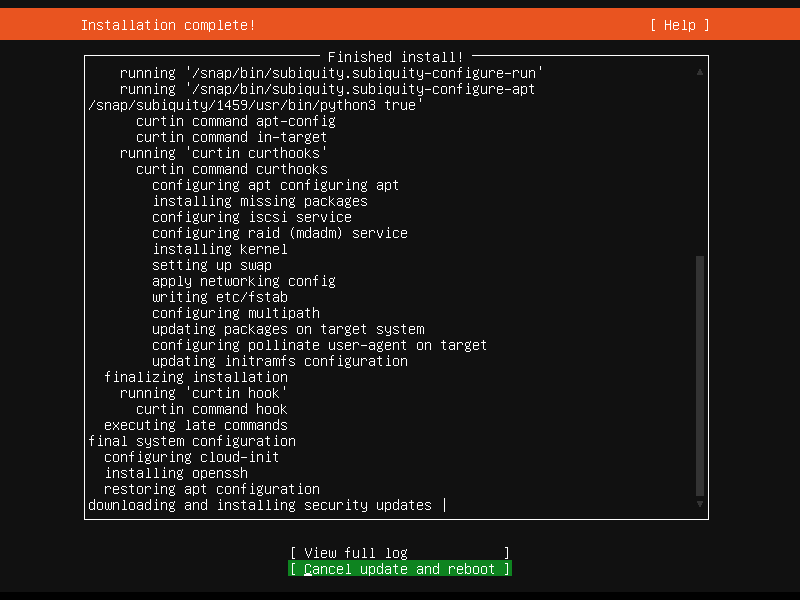
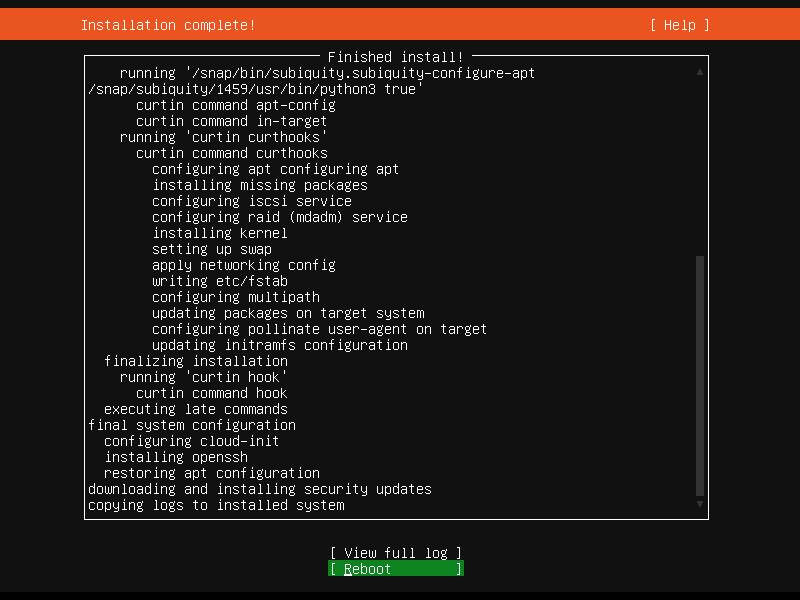
The installation will now start.
-
When the installation is done, the bottom "button" will now say Reboot. That is what we'll do.
-
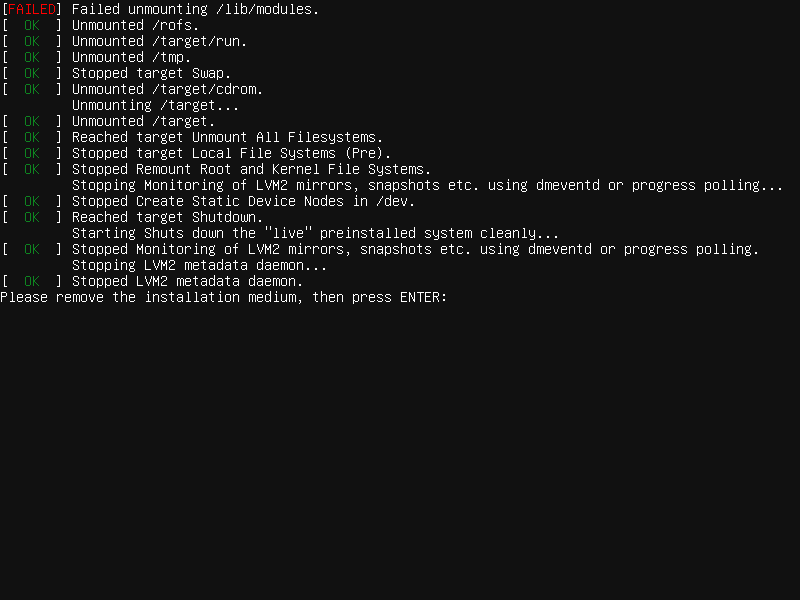
The next screen will now say "Please remove the installation medium, then press ENTER:". Remove the image from the virtual drive by clicking on the cd icon in the bottom bar below the virtual screen. Now press ENTER.
-
After reboot, the VM will show the Host SSH keys. We can ignore them, but obviously copy and store them if you need to secure your VM.
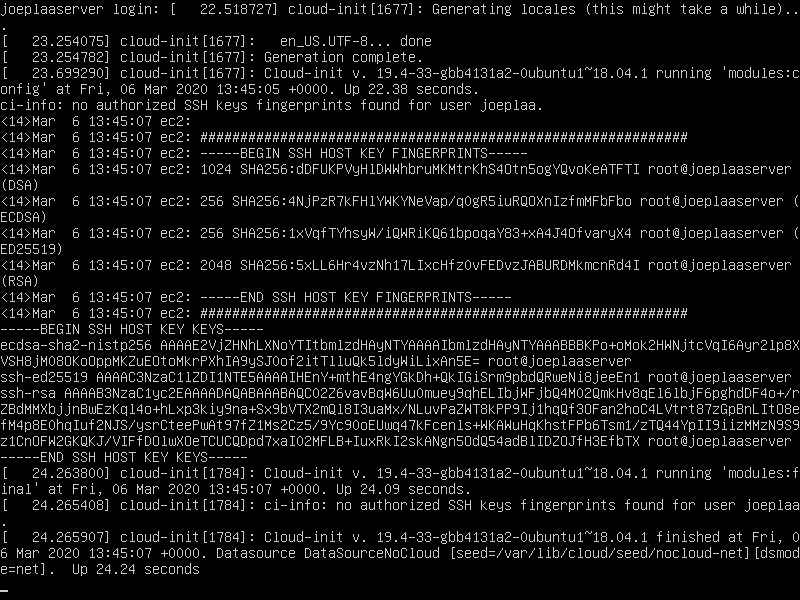
Normally you should never share these keys in a screen or otherwise, but this VM will be destroyed anyway.
-
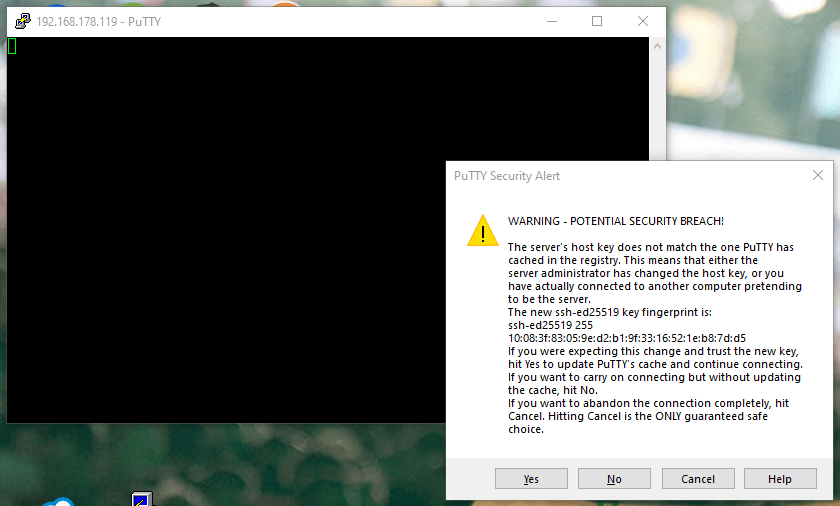
SSH into the VM. It will show a warning that the server and terminal key don't match. As I'm confident I'm connecting to my own VM, and not a hacked server, I'll press Yes to continue.
-
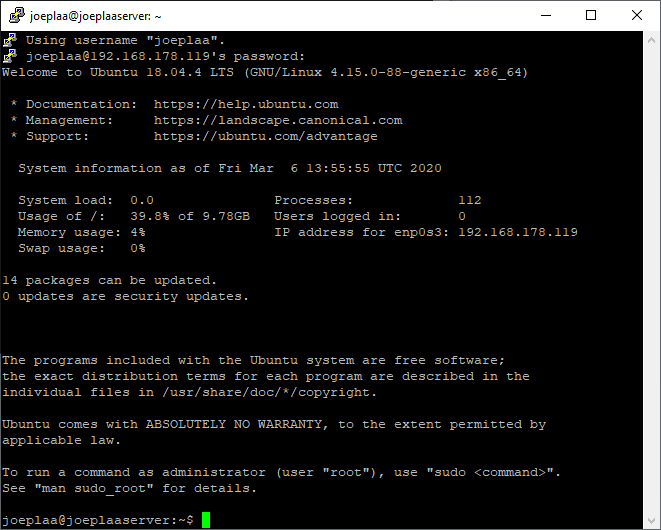
Ubuntu will ask for my password and after entering it successfully I'm connected.
-
Run the update commands after which the installation is finished:
sudo apt update && sudo apt upgrade