¶ How to install Proxmox
The "official" tutorial with a Youtube video on how to install and configure Proxmox can be found here:
https://forum.proxmox.com/threads/proxmox-beginner-tutorial-how-to-set-up-your-first-virtual-machine-on-a-secondary-hard-disk.59559/
The images in this guide are from a Proxmox 7 install. Proxmox 8 and 9 are very similar if not identical.
- Download Proxmox ISO file. It will install Debian with Proxmox preinstalled and configured.
If you install Proxmox using BIOS or UEFI mode the OS should be booted in the same mode as well. So do not change boot option in the BIOS after installation!
-
Create a bootable USB from this ISO.
-
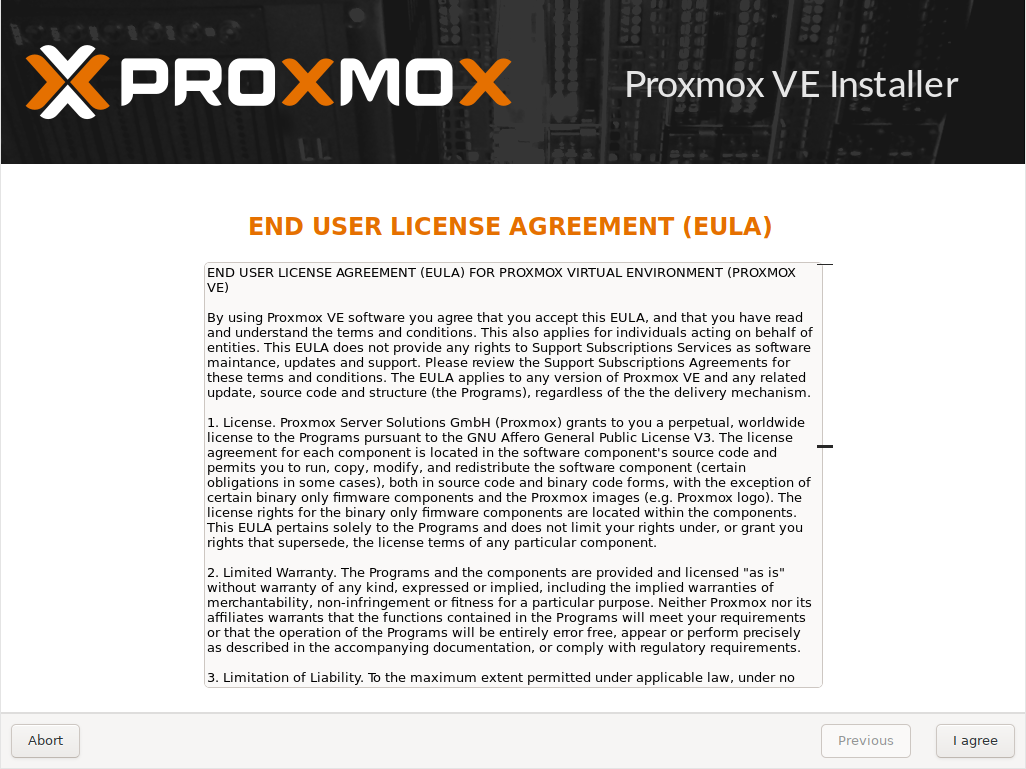
Boot from USB and accept the EULA.
-
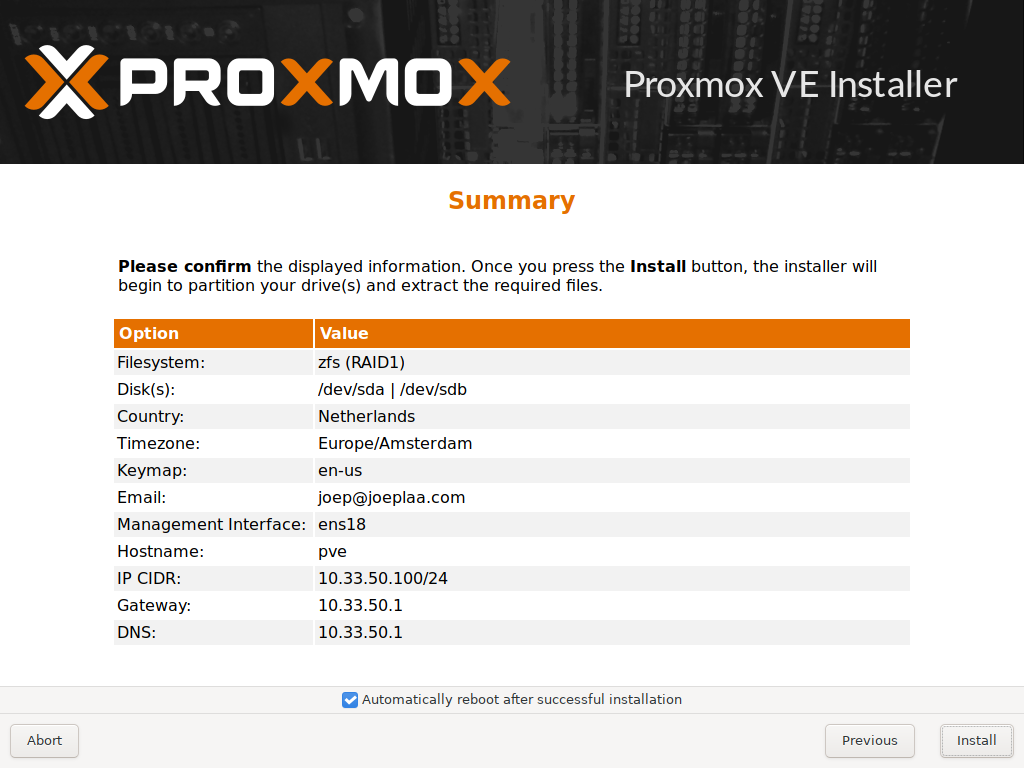
Select the options and choose your filesystem. Preferably use two mirrored disks:
zfs (RAID1). As the harddisks choose your (two) disk(s). If you have a hardware RAID card and configured your physical disks into a single logical drive, choose that one.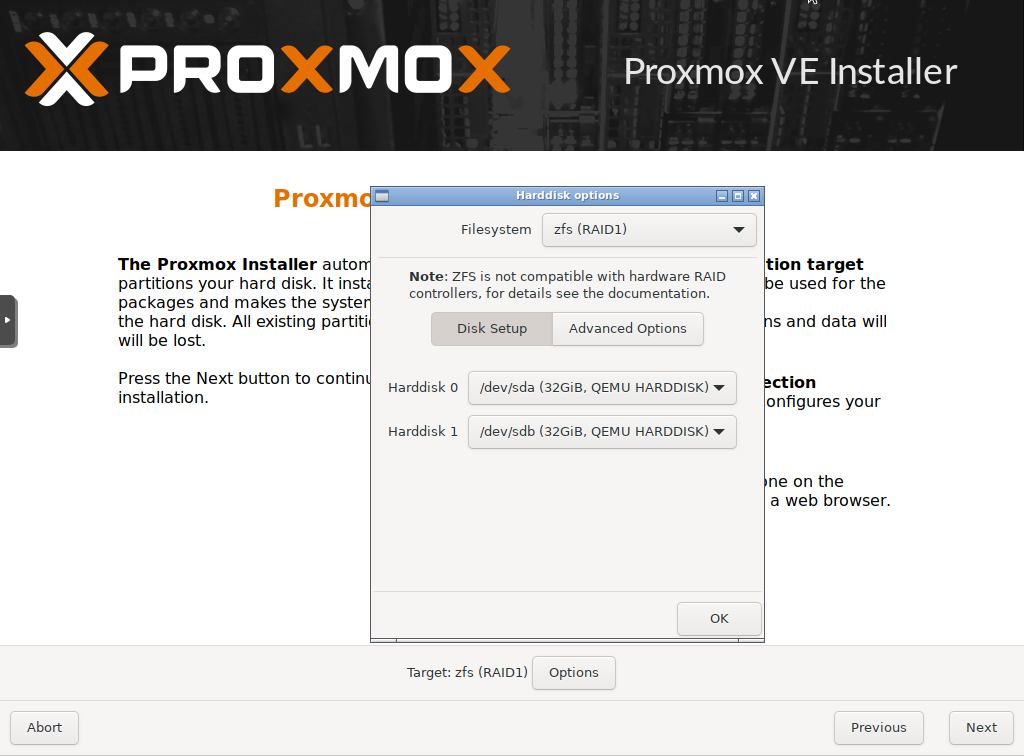
-
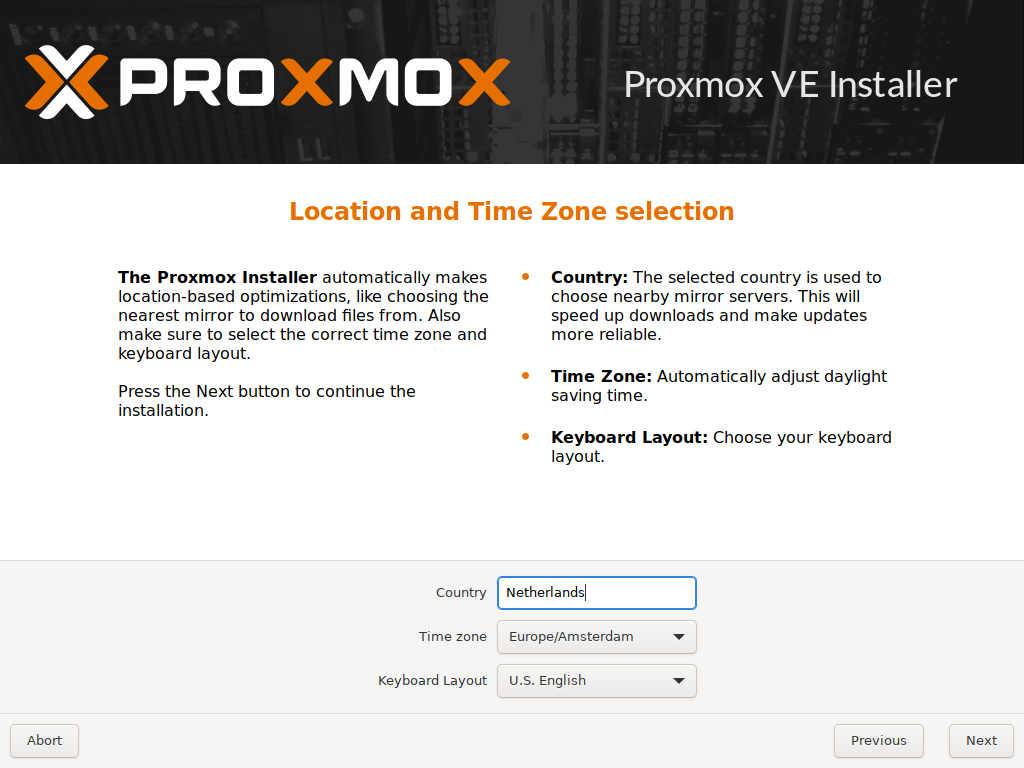
Set country, timezone and Keyboard Layout. You cannot choose "UTC" here, we'll correct that later.
-
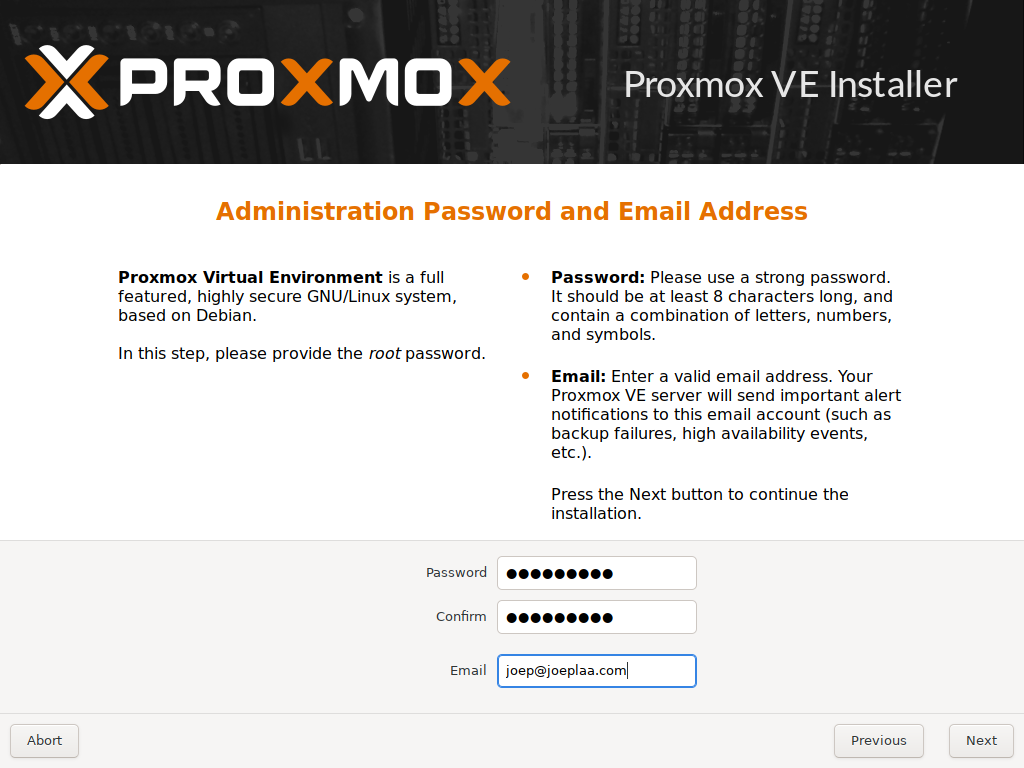
Enter the root password.
-
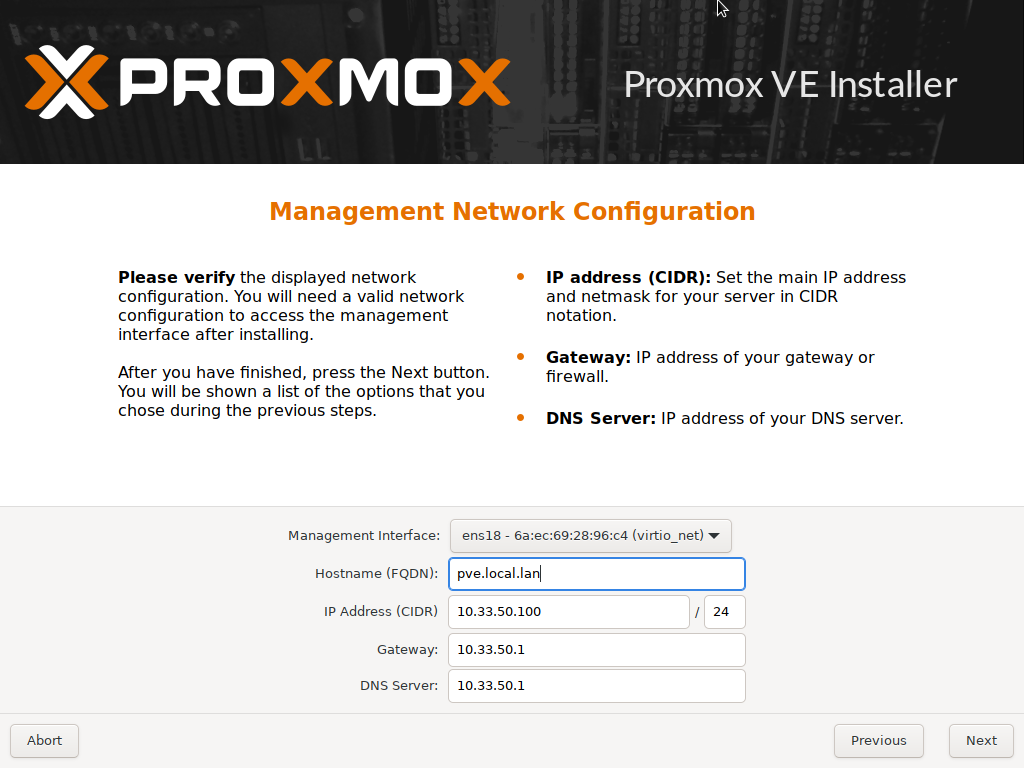
Select the management NIC and set the address of the host (see host table above for hostname and IP address).
-
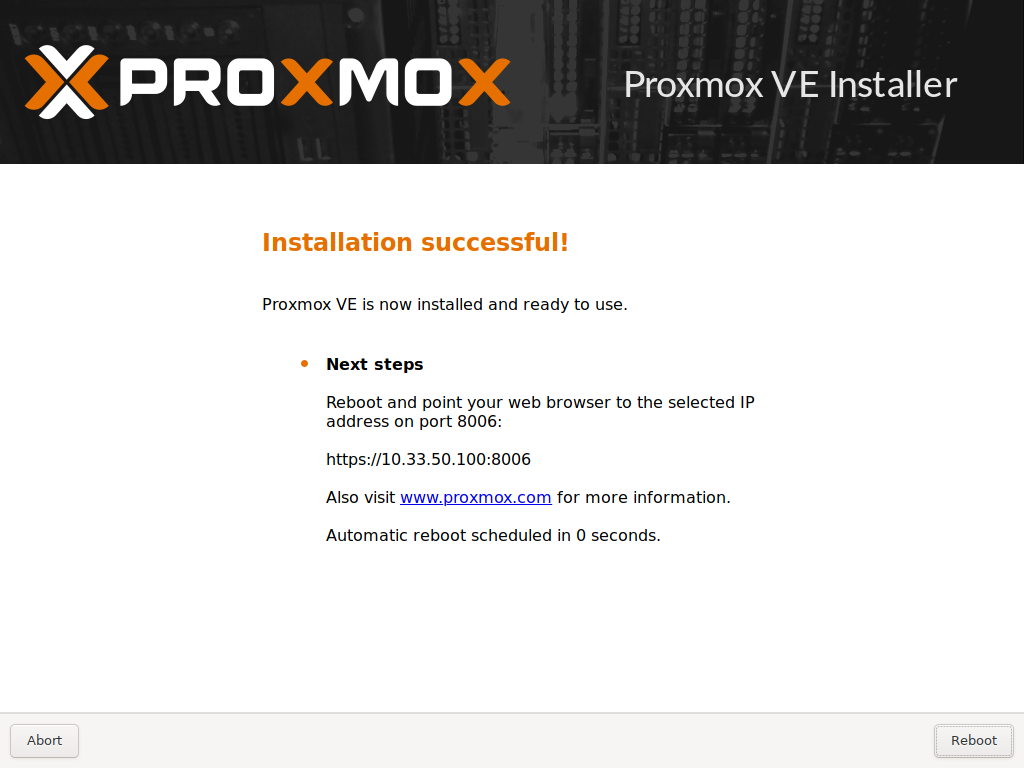
Press the Install button and wait for installation to finish.
-
Reboot
-
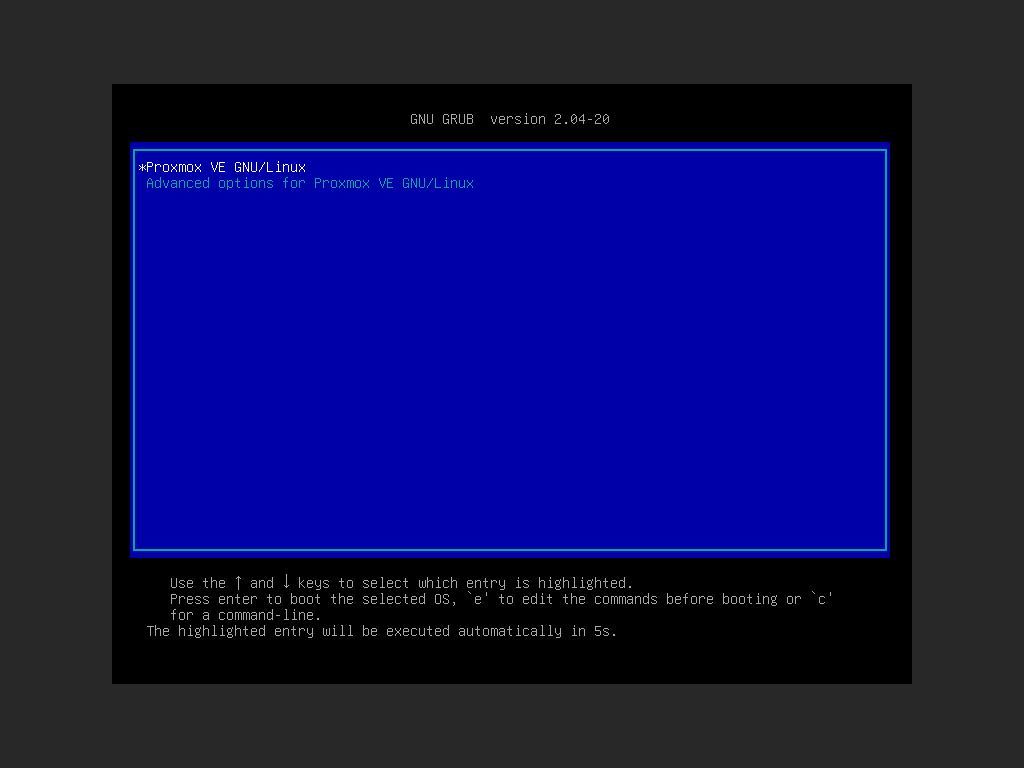
Press enter or wait for a few seconds to boot Proxmox from the boot loader
-
You should now be able to enter the CLI with the password created during install (user:
root)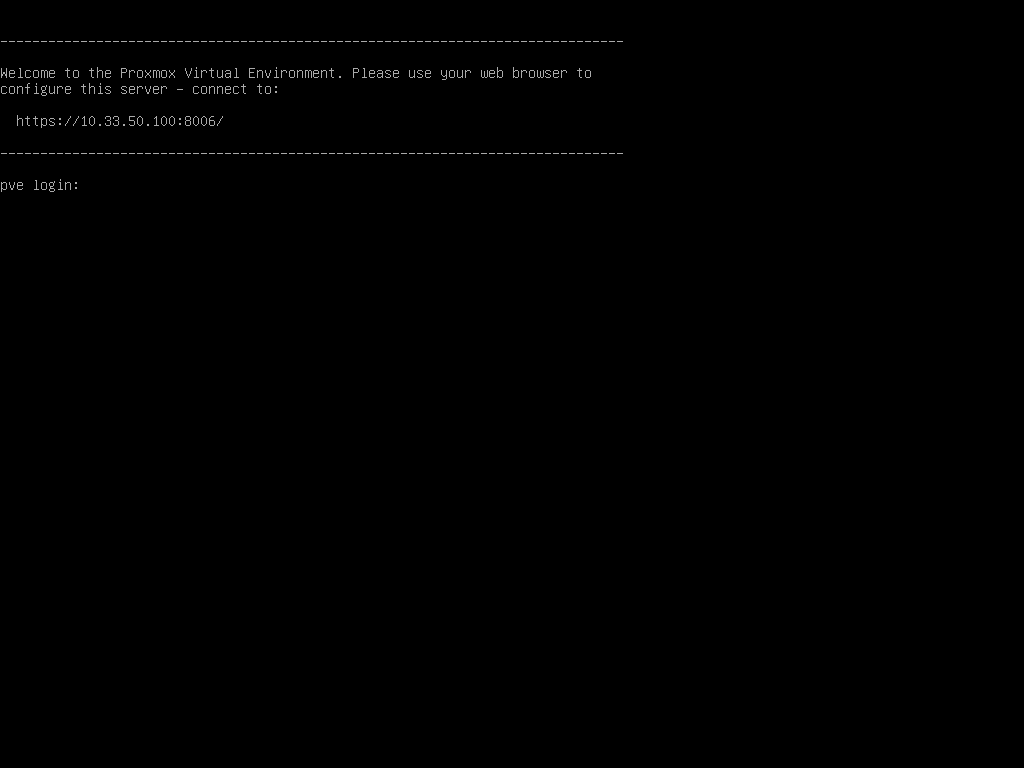
-
You should now also be able to enter the web interface at the address entered during installation, with the password created during install (user:
root)
If you get an error during boot:
Command: /sbin/zpool import -N "rpool"
Message: cannot import 'rpool' : no such pool available
Error: 1
Failed to import pool 'rpool'.
Manually import the pool and exit.You have to set a timeout of 20-30 seconds in grub. I can't remember how I did that, but at least here are the sources I could recover:
https://www.servethehome.com/fixing-proxmox-ve-cannot-import-rpool-zfs-boot-issue/
https://forum.proxmox.com/threads/zfs-cannot-import-rpool-after-reboot.37611/